how to install solar power
Installing solar power in your home can seem like a daunting task, but with the right preparation and understanding of the process, it becomes manageable. Whether you're looking to reduce your energy bills, increase your home's value, or contribute to a cleaner environment, solar panel installation offers numerous benefits. This guide walks you through the essential steps, from initial planning to final connection, helping you understand what to expect during the installation process and how to maximize the effectiveness of your solar energy system.

Step-by-Step Installation Guide
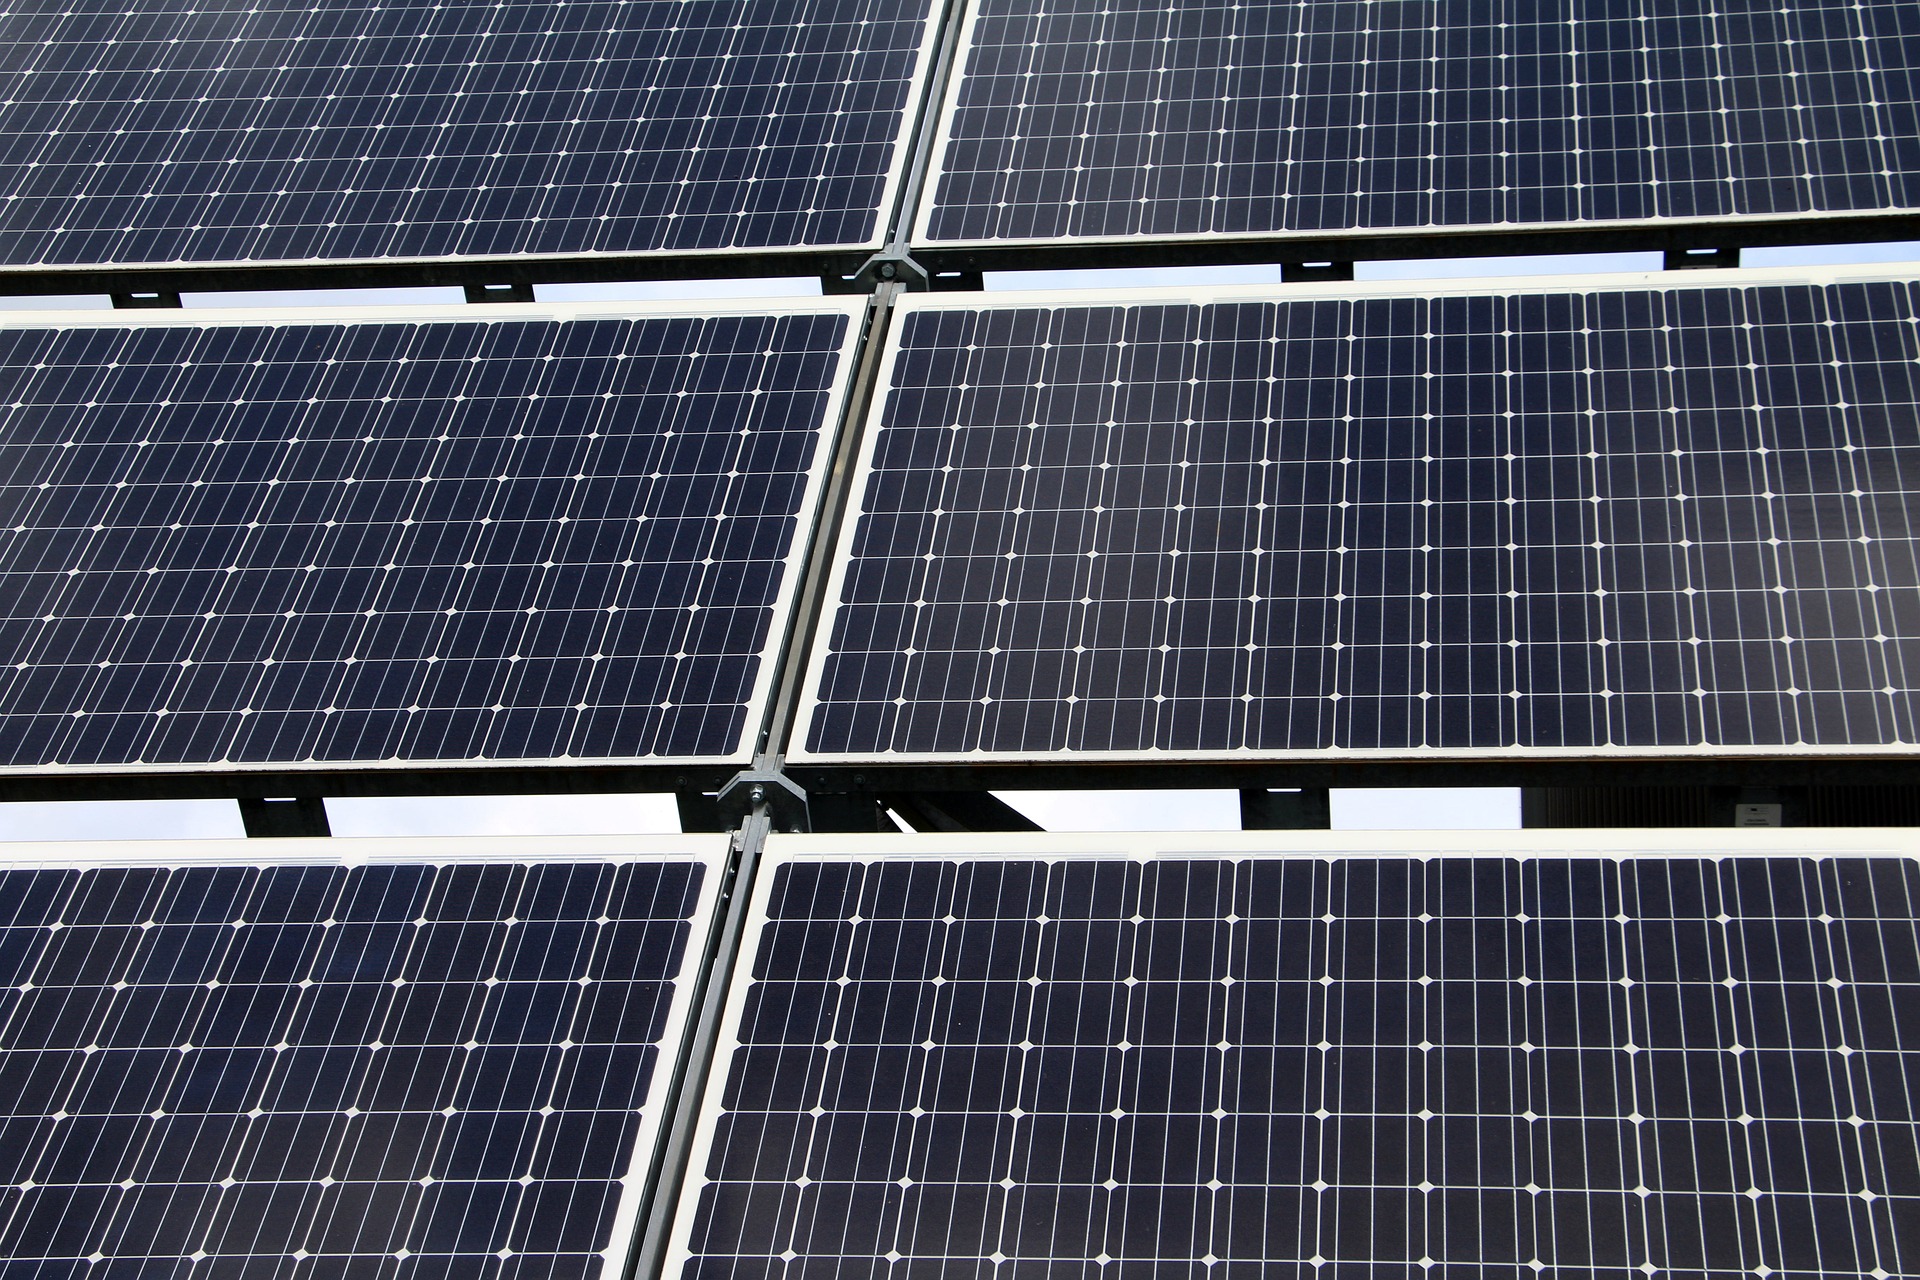
The solar panel installation process typically involves several key phases. First, you’ll need to conduct a site assessment to determine if your property is suitable for solar panels. This includes evaluating your roof’s condition, orientation, and angle. South-facing roofs with minimal shading generally provide optimal results. Next, you’ll need to obtain necessary permits from your local building department and utility company. The actual installation begins with mounting the racking system to your roof, which serves as the foundation for your solar panels. Professional installers will ensure the mounting system is securely attached to roof rafters and properly sealed to prevent leaks. Once the racking is in place, the solar panels are carefully positioned and secured. The panels are then wired together in series or parallel configurations, depending on your system design. An inverter is installed to convert the direct current generated by the panels into alternating current used by your home appliances. Finally, the system is connected to your home’s electrical panel and, if applicable, to the utility grid.
Easy Tips for Solar Setup
Successful solar installation requires careful planning and attention to detail. Start by choosing a reputable installer with proper licensing and insurance. Research customer reviews and ask for references to ensure quality workmanship. Before installation day, clear the area around your home to provide easy access for installers and their equipment. Remove any obstacles that might hinder roof access. Communicate clearly with your installer about your energy goals and any specific concerns. Document the condition of your roof with photographs before installation begins. This can be helpful for insurance purposes. Ensure your roof is in good condition before installing panels, as it’s much more expensive to repair roofing issues after panels are mounted. Consider upgrading your electrical panel if it’s outdated, as solar systems may require additional capacity. Keep all warranty documentation and maintenance schedules in a safe place. Many systems come with 25-year warranties on panels and shorter warranties on inverters.
Maximize Your Energy Savings
To get the most value from your solar installation, optimize your energy consumption patterns. Use high-energy appliances during peak sunlight hours when your panels are producing maximum power. This reduces the amount of electricity you need to draw from the grid. Consider adding a battery storage system to capture excess energy for use during evening hours or cloudy days. Monitor your system’s performance regularly using the monitoring app or platform provided by your installer. This helps you identify any issues quickly and ensures your system operates at peak efficiency. Trim trees or vegetation that may cast shadows on your panels as they grow over time. Even partial shading can significantly reduce output. Clean your panels periodically to remove dust, pollen, and debris that can block sunlight. In most climates, rain provides adequate cleaning, but occasional manual cleaning may be necessary. Take advantage of available tax credits and incentives to reduce your overall system cost. The federal solar tax credit allows you to deduct a percentage of your installation costs from your federal taxes.
Understand Solar Panel Placement
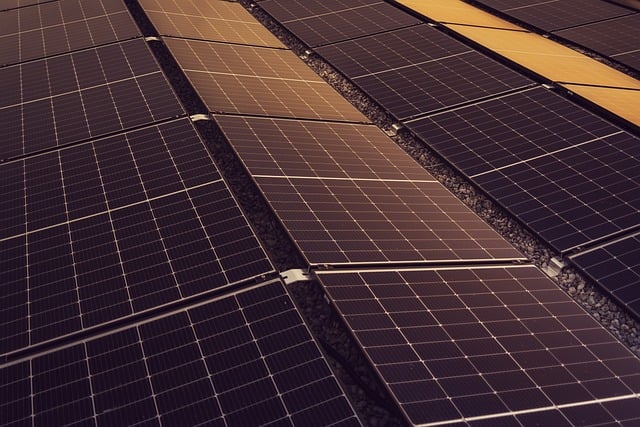
Proper panel placement is critical for maximizing energy production. In the United States, solar panels should ideally face south to capture the most sunlight throughout the day. However, southeast or southwest orientations can also work well. The optimal tilt angle for your panels depends on your latitude. Generally, panels should be angled between 30 and 45 degrees for most locations in the continental United States. Steeper angles work better in northern regions, while flatter angles are suitable for southern areas. Avoid placing panels in shaded areas, even if the shade only covers a small portion of the day. Modern solar systems use microinverters or power optimizers to minimize the impact of shading, but unshaded placement remains ideal. Consider ground-mounted systems if your roof isn’t suitable due to orientation, shading, or structural concerns. Ground mounts offer flexibility in positioning and angle adjustment. For flat roofs, tilted racking systems can be installed to achieve optimal angles. Ensure adequate spacing between panel rows to prevent self-shading, especially during winter months when the sun is lower in the sky.
Comparing Solar Installation Providers
When selecting a solar installation company, comparing options helps ensure you receive quality service at a fair price. Here are some major providers operating across the United States:
| Provider | Services Offered | Key Features |
|---|---|---|
| Sunrun | Full installation, leasing, purchasing | Battery storage options, 25-year warranty |
| Tesla Energy | Panel installation, Powerwall battery | Integrated app monitoring, sleek design |
| Vivint Solar | Residential installation, financing | Customized system design, monitoring |
| SunPower | Premium panel installation | High-efficiency panels, comprehensive warranty |
| Momentum Solar | Full-service installation | Free energy consultations, financing options |
Prices, rates, or cost estimates mentioned in this article are based on the latest available information but may change over time. Independent research is advised before making financial decisions.
Get Started with Solar Today
Beginning your solar journey requires taking several initial steps. Start by evaluating your current energy usage by reviewing your utility bills from the past year. This helps determine the appropriate system size for your needs. Request quotes from multiple installers in your area to compare pricing, equipment options, and warranties. Most reputable companies offer free consultations and site assessments. Ask detailed questions about equipment brands, installation timelines, and post-installation support. Verify that installers are certified by the North American Board of Certified Energy Practitioners. Check their track record with the Better Business Bureau and read online reviews. Explore financing options including cash purchases, solar loans, leases, and power purchase agreements. Each option has different financial implications and ownership structures. Understand the interconnection process with your utility company, which allows you to sell excess energy back to the grid through net metering programs. Schedule your installation during favorable weather conditions when possible, though professional installers can work year-round in most climates.
Installing solar power represents a significant investment in your home and the environment. By following proper installation procedures, choosing quality equipment and installers, and optimizing your system’s placement and usage, you can enjoy decades of clean, renewable energy. The initial effort and cost are offset by long-term savings, increased property value, and the satisfaction of reducing your carbon footprint.


