Learn More About Fence Installation
Installing a garden fence can transform your outdoor space while providing privacy, security, and aesthetic appeal. Whether you're a first-time DIYer or looking to expand your home improvement skills, understanding the fundamentals of fence installation will help ensure your project succeeds. This guide covers everything from planning and material selection to step-by-step installation techniques and troubleshooting common issues.

A well-installed garden fence not only enhances the appearance of your property but also serves practical purposes such as defining boundaries, keeping pets and children safe, and protecting your garden from wildlife. While professional installation is always an option, many homeowners find that installing a fence themselves can be a rewarding and cost-effective project when approached with the right knowledge and preparation.
Expert Tips for DIY Fence Installation
Before breaking ground on your fence project, proper planning is essential. Start by checking local regulations and homeowners association rules regarding fence height, style, and placement. Many municipalities require permits for fence installation, and failing to obtain one could result in fines or forced removal.
Survey your property lines carefully to avoid encroaching on neighboring properties. Consider hiring a professional surveyor if you’re uncertain about boundaries. Next, mark your fence line using stakes and string to visualize the layout. This step helps identify potential obstacles such as utility lines, roots, or drainage issues before installation begins.
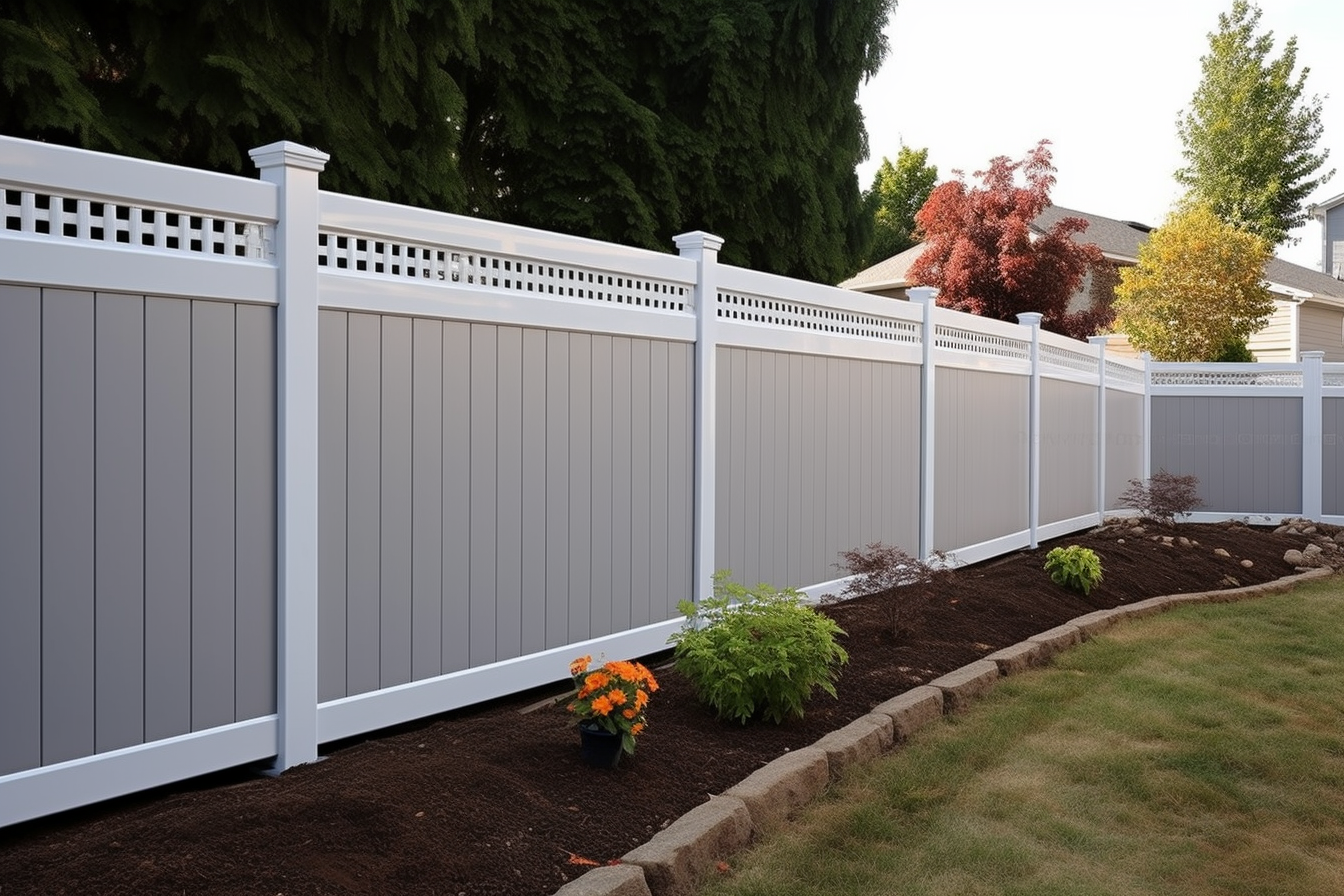
Choose materials that complement your home’s architecture and meet your specific needs. For example, wood provides a classic look but requires regular maintenance, while vinyl offers durability with minimal upkeep. Consider your climate, budget, and aesthetic preferences when making this important decision.
Step-by-Step Guidance for Your Project
The fence installation process typically follows these key stages:
-
Layout and marking: Establish fence lines using stakes and string, marking post locations at regular intervals (typically 6-8 feet apart).
-
Post hole digging: Dig holes approximately three times the width of your posts and to a depth of one-third the post height plus 6 inches for gravel drainage.
-
Setting posts: Place 6 inches of gravel at the bottom of each hole, position the post, check for plumb using a level, and fill with concrete. Allow 24-48 hours for concrete to cure.
-
Installing rails: Attach horizontal support rails to the posts according to your fence style. Most fences require at least top and bottom rails.
-
Adding pickets or panels: Secure vertical boards or pre-made panels to the rails, maintaining consistent spacing.
-
Finishing touches: Add post caps, gates, and apply stain or paint as desired to protect the material and enhance appearance.
Proper spacing between posts is crucial for structural integrity. For standard wooden fences, posts should typically be placed 6-8 feet apart. However, this may vary depending on your fence style and local wind conditions.
Understand Materials and Tools Needed
A successful fence installation requires having the right tools and materials on hand. Essential tools include:
- Post hole digger or power auger
- Circular saw or miter saw
- Drill with various bits
- Level and measuring tape
- String line and stakes
- Shovel and wheelbarrow for concrete
- Hammer or nail gun
- Safety equipment (gloves, eye protection, ear protection)
For materials, you’ll need to calculate quantities based on your fence dimensions. Common materials include:
- Fence posts (pressure-treated wood, metal, or vinyl)
- Rails and pickets or pre-made panels
- Concrete mix for setting posts
- Gravel for drainage
- Hardware (nails, screws, brackets, hinges for gates)
- Post caps and decorative elements
- Stain, paint, or sealant for wood fences
Quality matters when selecting materials. Pressure-treated lumber rated for ground contact should be used for wooden posts, while rails and pickets should be treated for outdoor exposure. For metal components, look for galvanized or powder-coated finishes to prevent rust and corrosion.
Discover Common Installation Mistakes
Even experienced DIYers can make errors during fence installation. Being aware of these common mistakes can help you avoid them:
Insufficient post depth is perhaps the most frequent error. Posts that aren’t set deep enough will lean or heave during freeze-thaw cycles or strong winds. As a general rule, posts should be buried at least one-third of their total length.
Ignoring property lines can lead to disputes with neighbors and potential legal issues. Always verify boundaries before installation begins and consider discussing your plans with adjacent property owners.
Poor concrete mixing or insufficient curing time weakens the foundation of your fence. Follow manufacturer instructions for concrete mixing and allow full curing time before attaching rails and panels.
Improper spacing between pickets can cause visual inconsistencies and structural problems. Use spacers to maintain uniform gaps, and account for wood shrinkage if using natural materials.
Neglecting to check for level and plumb throughout the installation process results in a fence that looks unprofessional and may be less stable. Take time to verify measurements at each stage of construction.
Get Answers to Your Fencing Questions
Many homeowners have similar questions when planning a fence installation project. Here are answers to some frequently asked concerns:
How long does a typical DIY fence installation take? For an average 150-200 linear foot residential fence, expect to spend 2-3 weekends on installation. The timeline depends on fence style, terrain challenges, and your experience level.
What’s the best season for installing a fence? Spring and fall generally offer ideal conditions with moderate temperatures and workable soil. Avoid winter in cold climates when frozen ground makes digging difficult, and extremely hot summer days that can make concrete set too quickly.
How do I handle sloped terrain? You have two options: step the fence (creating a stair-step pattern with level sections) or rake the fence (following the contour of the slope). Stepping works well for significant slopes, while raking is better for gentle grades.
What maintenance will my fence require? Wood fences typically need cleaning and resealing or staining every 2-3 years. Vinyl and metal fences require occasional cleaning but minimal additional maintenance. All fence types should be inspected annually for damage or loose components.
Can I install a fence myself, or should I hire a professional? With proper planning and basic tools, most homeowners can successfully install a simple fence. However, complex designs, difficult terrain, or limited time might justify hiring professionals. Consider your comfort level with DIY projects and the scope of your specific installation.
Remember that a well-installed fence can last for decades with proper maintenance. Taking the time to learn proper techniques and avoiding shortcuts will result in a fence that enhances your property for years to come.


