Learn More About Fence Installation
Installing a fence around your garden can enhance privacy, security, and curb appeal while defining property boundaries. Whether you're a seasoned DIY enthusiast or considering professional help, understanding the installation process, materials, and planning requirements is essential. This guide walks you through everything you need to know to make informed decisions about your fencing project.

Discover Expert Tips for Fence Installation
Successful fence installation begins with careful planning and preparation. Before breaking ground, check local building codes and homeowner association regulations, as many areas require permits for fences exceeding certain heights. Mark your property lines accurately to avoid disputes with neighbors, and contact utility companies to identify underground lines before digging. Experienced installers recommend measuring your perimeter multiple times and adding 10 percent to material estimates to account for waste and errors. Consider the fence’s purpose—whether for privacy, security, decoration, or containing pets—as this will influence height, material choice, and gate placement. Proper planning prevents costly mistakes and ensures your fence meets both functional needs and aesthetic goals.
Understand the Materials Needed for Your Project
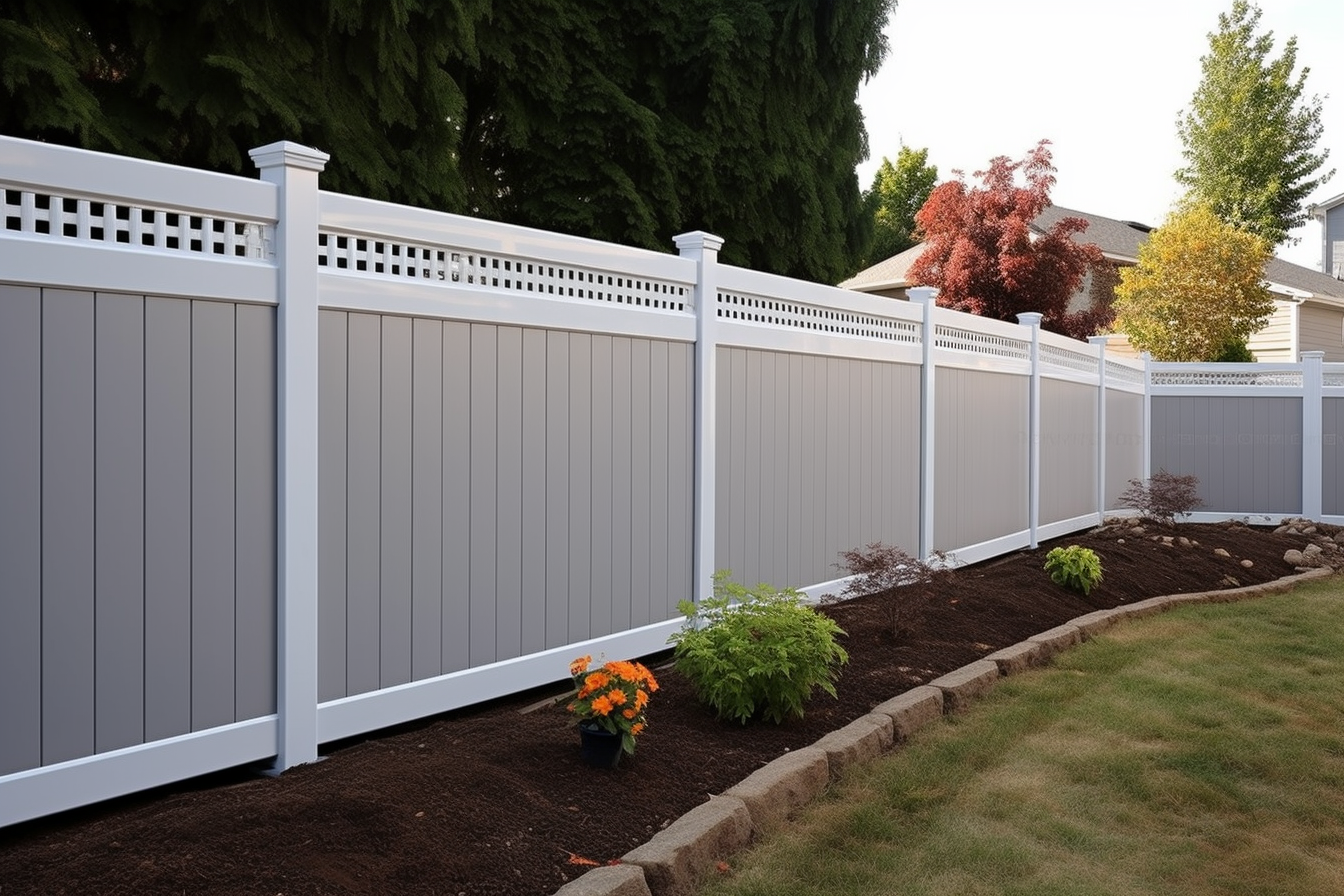
Choosing the right materials is crucial for durability and appearance. Wood remains a popular choice, with pressure-treated pine offering affordability and cedar providing natural rot resistance. Vinyl fencing requires minimal maintenance and resists weathering, though it carries a higher upfront cost. Metal options include aluminum, which is lightweight and rust-resistant, and wrought iron, known for its strength and classic appearance. Chain-link fencing provides economical security for larger areas. Beyond fence panels or boards, you’ll need posts, concrete mix, gravel for drainage, post caps, gates, hinges, latches, screws or nails, and brackets. Tools required typically include a post hole digger or auger, level, measuring tape, string line, saw, drill, and safety equipment. The material quantity depends on your fence length, height, and post spacing, which typically ranges from six to eight feet apart for stability.
Explore Step-by-Step Installation Guides
The installation process follows a systematic approach regardless of material. Start by marking corner and end post locations, then stretch a string line between them to guide intermediate post placement. Dig post holes to a depth of one-third the post height plus six inches for gravel—a six-foot fence requires holes approximately 30 inches deep. Add gravel to the bottom of each hole for drainage, then set posts in concrete, checking for plumb with a level on adjacent sides. Allow concrete to cure for 24 to 48 hours before attaching rails or panels. For wood fences, attach horizontal rails between posts first, then add vertical boards or pickets, maintaining consistent spacing with a guide. Panel-style fences attach pre-assembled sections directly to posts. Install gates last, ensuring proper clearance and smooth operation. Metal and vinyl fences often use bracket systems that simplify alignment and attachment. Throughout the process, continuously check for level and plumb to maintain a professional appearance.
Get Insights from Experienced Installers
Professional fence installers emphasize several key practices that separate quality installations from problematic ones. Always set posts in concrete rather than tamping soil alone, as concrete provides superior stability and longevity. When working on sloped terrain, experienced contractors recommend either stepping the fence in level sections or racking panels to follow the grade, depending on the fence style and material. They advise against rushing the concrete curing process, as premature stress on posts can cause misalignment. For wood fences, pre-drilling screw holes prevents splitting and ensures tighter connections. Professionals also suggest applying wood sealant or stain before installation when possible, as this provides better coverage than post-installation treatment. When installing gates, use heavy-duty hinges rated for the gate’s weight and install a diagonal brace to prevent sagging over time. Many installers recommend building or installing gates slightly smaller than the opening to allow for seasonal wood expansion and ensure smooth operation year-round.
For homeowners considering professional installation versus DIY approaches, understanding typical cost structures helps with budgeting. Professional fence installation costs vary significantly based on material, height, length, and regional labor rates. The following table provides general cost estimates for common fencing options:
| Fence Type | Material Cost per Linear Foot | Installation Cost per Linear Foot | Total Estimated Cost per Linear Foot |
|---|---|---|---|
| Chain-Link (4 ft) | $5 - $10 | $5 - $10 | $10 - $20 |
| Wood Privacy (6 ft) | $10 - $20 | $10 - $20 | $20 - $40 |
| Vinyl Privacy (6 ft) | $20 - $35 | $10 - $20 | $30 - $55 |
| Aluminum (4 ft) | $20 - $30 | $10 - $15 | $30 - $45 |
| Wrought Iron (5 ft) | $25 - $40 | $15 - $25 | $40 - $65 |
Prices, rates, or cost estimates mentioned in this article are based on the latest available information but may change over time. Independent research is advised before making financial decisions.
Find Answers to Your Fencing Questions
Common questions arise throughout the fence installation process. Many homeowners wonder about the best time of year to install fencing—spring and fall typically offer ideal conditions, as ground is workable but not frozen, and moderate temperatures make outdoor work comfortable. Regarding maintenance, wood fences benefit from annual cleaning and resealing every two to three years, while vinyl and metal options require only occasional washing. Post spacing depends on material and purpose, but eight feet represents the maximum for most residential applications, with six feet providing extra stability for taller or privacy fences. For property line fences, communication with neighbors prevents disputes—some jurisdictions require neighbor consent, and sharing costs can build goodwill. Gate placement should consider traffic patterns, lawn equipment access, and convenience. Most residential fences range from four to six feet tall, though local regulations may restrict height, particularly for front yard installations. Understanding these common concerns helps you plan effectively and avoid surprises during your project.
Installing a garden fence represents a significant home improvement investment that enhances property value, functionality, and appearance. Whether you choose to tackle the project yourself or hire professionals, understanding the process, materials, and best practices ensures successful results. Proper planning, quality materials, careful execution, and realistic budgeting create a fence that serves your needs for years to come while complementing your property’s overall aesthetic.


