Learn more about wall restoration
Wall restoration is more than just patching holes or repainting surfaces. It involves understanding the underlying issues that cause damage, selecting the right materials, and applying proven techniques to bring your walls back to life. Whether you're dealing with cracks, water damage, or simply worn-out surfaces, knowing the fundamentals of wall restoration can save you time, money, and frustration while enhancing your home's overall appeal.

Walls are the backbone of any home’s structure and aesthetic. Over time, they endure wear and tear from daily life, environmental factors, and settling foundations. Understanding how to properly restore walls ensures your home remains beautiful, safe, and valuable. This comprehensive guide explores essential techniques, materials, and strategies to help you tackle wall restoration projects with confidence.
Revitalize your walls today with proper assessment
Before beginning any restoration project, thoroughly assess the condition of your walls. Look for visible cracks, holes, water stains, peeling paint, or bulging areas. These symptoms often indicate deeper issues such as foundation settlement, moisture intrusion, or structural damage. Use a moisture meter to detect hidden water problems behind surfaces. Tap walls gently to identify hollow spots that may signal detached plaster or drywall. Document all problem areas with photos and measurements. This assessment phase is crucial because it determines the scope of work needed and prevents cosmetic fixes that mask serious underlying problems. Understanding what you’re dealing with allows you to plan effectively and budget appropriately for materials and labor.
Discover expert wall restoration techniques for lasting results
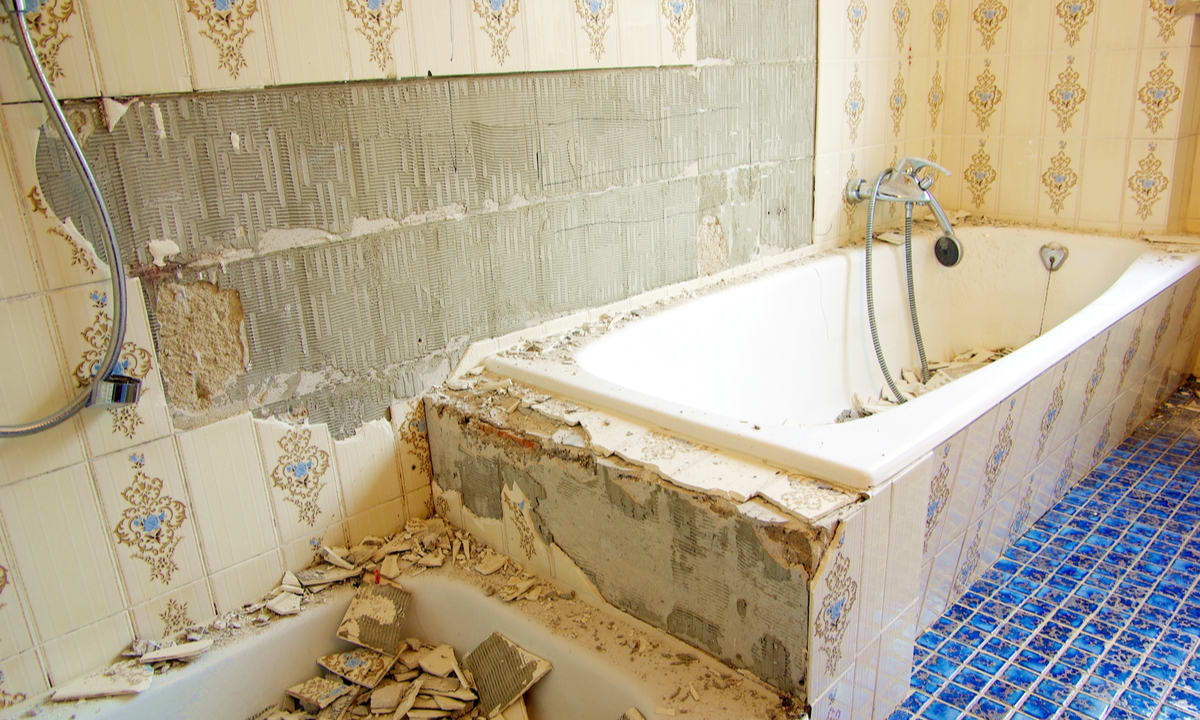
Professional wall restoration relies on time-tested methods tailored to specific damage types. For hairline cracks, use flexible acrylic caulk or specialized crack fillers that move with seasonal expansion. Larger cracks require removal of loose material, application of fiberglass mesh tape, and multiple layers of joint compound feathered outward for seamless blending. Water-damaged walls need complete drying before repair, often requiring dehumidifiers or fans for several days. Remove and replace any mold-affected drywall or plaster, treating surrounding areas with antimicrobial solutions. For plaster walls, the three-coat method involving scratch coat, brown coat, and finish coat provides durability and authenticity in historic homes. Drywall repairs involve cutting out damaged sections in square or rectangular shapes, installing backing supports, securing new drywall pieces, taping seams, and applying multiple coats of joint compound with progressive sanding between layers.
Enhance your home’s interior appeal through material selection
Choosing appropriate materials significantly impacts restoration quality and longevity. Joint compound comes in setting-type and drying-type varieties. Setting-type compounds harden through chemical reaction, offering superior strength and minimal shrinkage, ideal for deep fills and structural repairs. Drying-type compounds are easier to sand and work well for final coats and cosmetic applications. Primer selection matters tremendously. Use stain-blocking primers over water stains or smoke damage to prevent bleed-through. High-build primers help level uneven surfaces and provide better paint adhesion. For textured walls, matching existing texture requires the right tools, whether knockdown knives, texture sprayers, or specialty rollers. Paint quality affects final appearance and durability. Higher-grade paints contain more pigment and binder, providing better coverage, washability, and color retention. Consider low-VOC or zero-VOC options for healthier indoor air quality, especially important in bedrooms and spaces with limited ventilation.
Restore your walls to their former glory with finishing touches
Proper finishing transforms repaired walls from obvious patches to invisible repairs. After final sanding with fine-grit sandpaper, remove all dust using vacuum attachments and damp cloths. Apply primer to repaired areas, extending slightly beyond repair boundaries to ensure uniform paint absorption. Once primer dries, examine the surface under angled lighting to spot imperfections requiring additional attention. Light sanding and spot-priming may be necessary for flawless results. When painting, use quality brushes and rollers appropriate for your wall texture. Cut in edges carefully with brushes before rolling larger areas. Apply paint in thin, even coats rather than one thick application. Two coats typically provide optimal coverage and color depth. For textured walls, use rollers with appropriate nap length matching your texture depth. Maintain wet edges while painting to avoid lap marks. Allow proper drying time between coats as specified by paint manufacturers, adjusting for humidity and temperature conditions.
Get professional tips for wall care and maintenance
Preventing future damage requires ongoing attention and smart habits. Address water leaks immediately, whether from plumbing, roofs, or exterior walls. Maintain proper humidity levels between 30-50 percent to prevent plaster cracking or mold growth. Use dehumidifiers in damp basements and humidifiers in dry climates. Install proper ventilation in bathrooms and kitchens to manage moisture from showers and cooking. Regularly inspect walls for early signs of problems, catching small issues before they become major repairs. When hanging heavy items, use appropriate anchors rated for the weight and wall type. Avoid placing furniture directly against exterior walls in humid climates, allowing air circulation to prevent moisture accumulation. Clean walls periodically with gentle methods appropriate for your paint finish. Touch up minor scuffs and marks promptly to maintain appearance and protect underlying surfaces. Consider applying clear protective coatings in high-traffic areas or homes with children and pets.
Conclusion
Wall restoration combines careful assessment, proper technique, quality materials, and attention to detail. Whether addressing minor cosmetic issues or major structural repairs, understanding these principles empowers homeowners to maintain beautiful, healthy walls. Taking time to properly diagnose problems, select appropriate solutions, and execute repairs with precision ensures lasting results that preserve your home’s value and comfort for years to come.


